 Getting started with Web Monitor
 Getting started with Web Monitor
When you first start Web Monitor you will be presented with an empty site list display that looks like this:
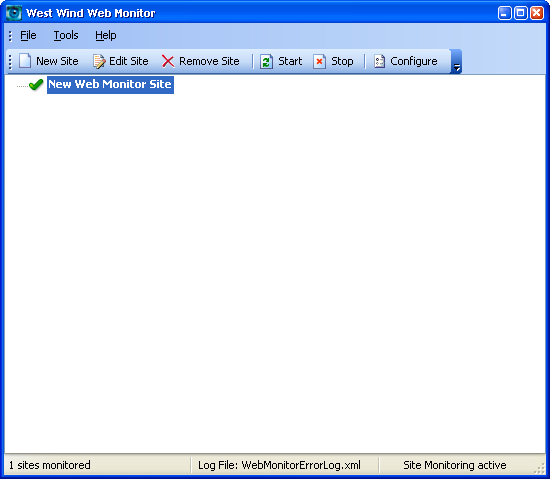
The site display contains a single site that as of yet has not been configured. However before configuring this site you should start by setting up the master configuration that applies to all sites.
Start with the Web Monitor Configuration Form
Web Monitor uses several global configuration settings that are use by every site. Specifically it needs to know which email server and authentication to use for sending emails, and it potentially requires HTTP proxy information to access a Web site through a firewall.
The Web Monitor Configuration Form provides these and a number of other options that are required before Web Monitor can function effectively.
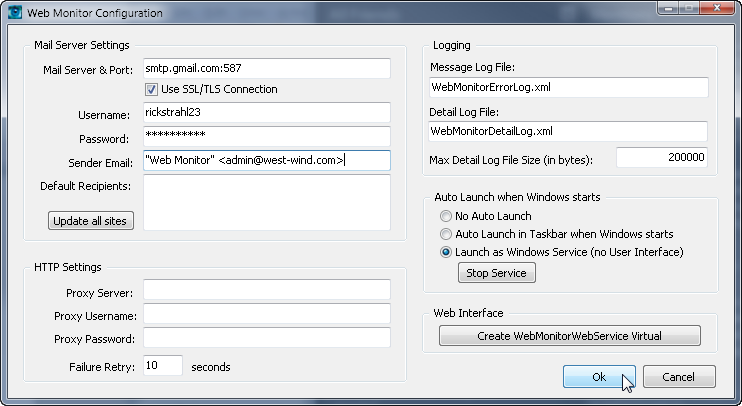
For now go ahead and run Web Monitor without any Auto-Launch options which means that you want to run in plain desktop mode. Once you're sure the sites are monitoring and reporting the way you'd like them to you can switch into one of the other potentially not visible modes of operation.
Once the master configuration has been set up you're now ready to configure one more sites.
Configuring Web Monitor Sites
Ok, now you're ready to edit the specific site. Right click on the New Web Monitor Site in the list display and select Edit Site which brings up a form that looks like the one shown below. After editing the content it might look like this:
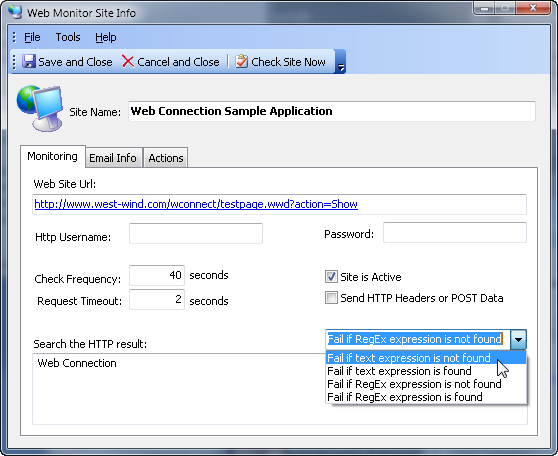
The Site Info Form contains information about the site to monitor, whom to notify via email when a failure occurs and - optionally - what application or URL to fire when a failure occurs. For more detailed info on what options are available check the Site Info Form topic.
See also
Web Monitor Configuration Form | Web Monitor Site Info Form
Comment or report problem with topic